
Posted on July 1st, 2017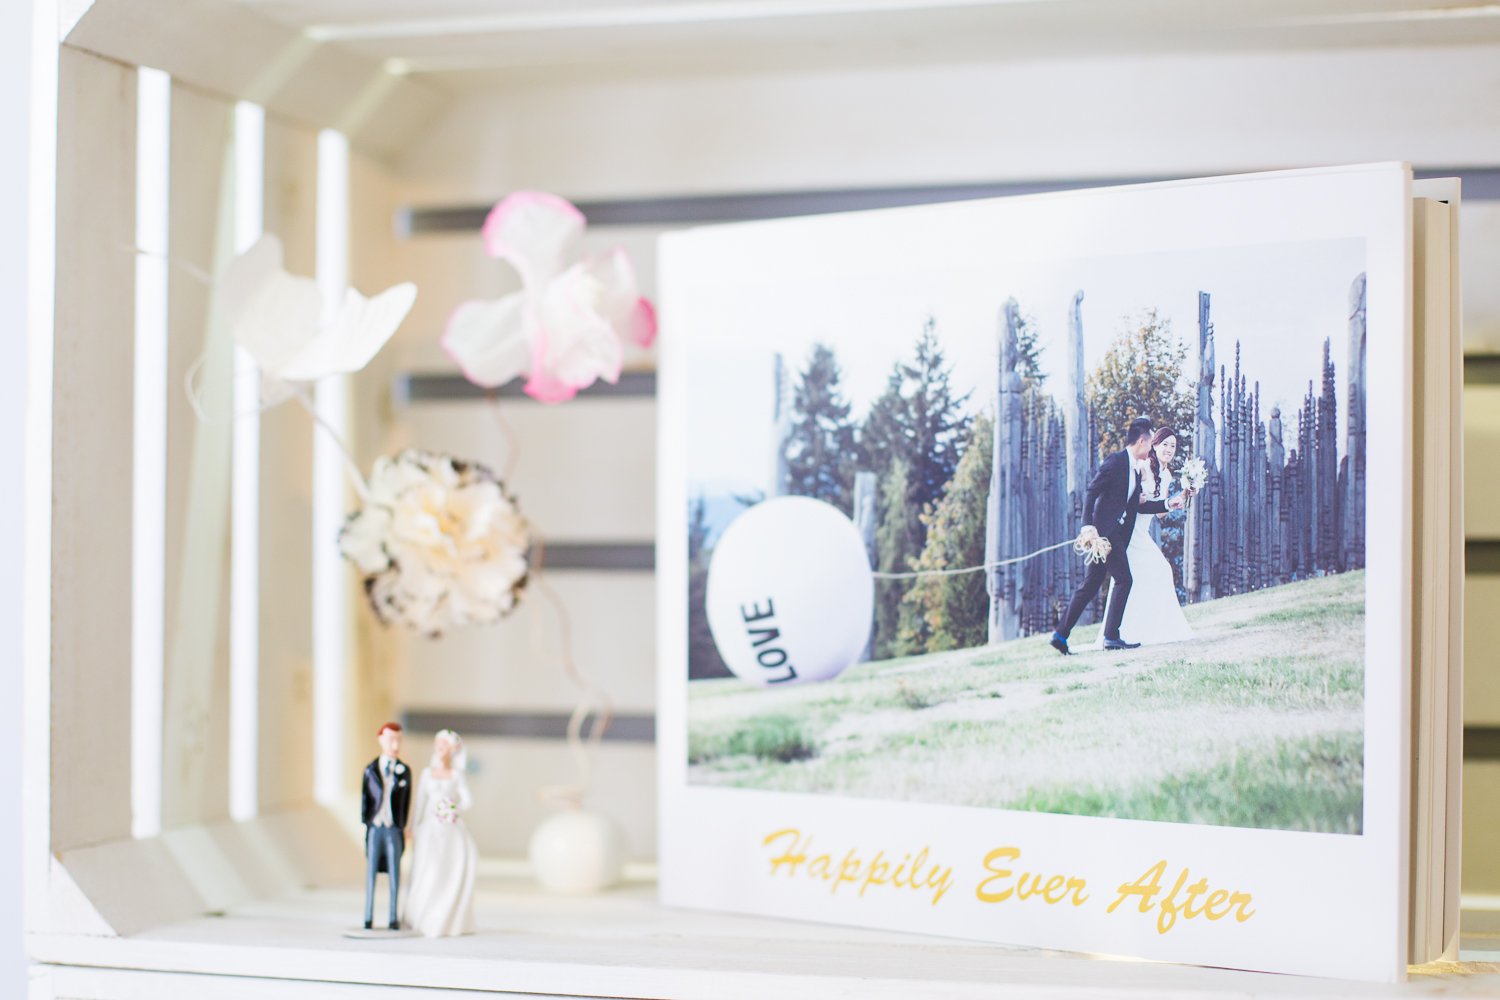
7 steps in creating your perfect wedding photobook
It's obvious what matter the most in making the perfect photobook are the photos taken on your special day. Nothing can replace these photos and a well design layout will help in unfolding all those important moments again. If you're stuck with where to begin, no worries as this guide will breakdown in 7 simple steps in creating a wedding photobook you'll want to keep forever.
Step 1: Selecting the photos
You'll be sure to have hundreds of photos to go through. To make it easier try limiting the selection to 20-30 absolute favourites (key moments, beautiful candid shots, important people). Then select another 40-50 best detail and atmosphere shots to fill in the details. Such as the ones that capture mood, decor, dress etc. This way you won't be end up missing an important shot or going overboard with too many photos.
Step 2: Selecting your book options
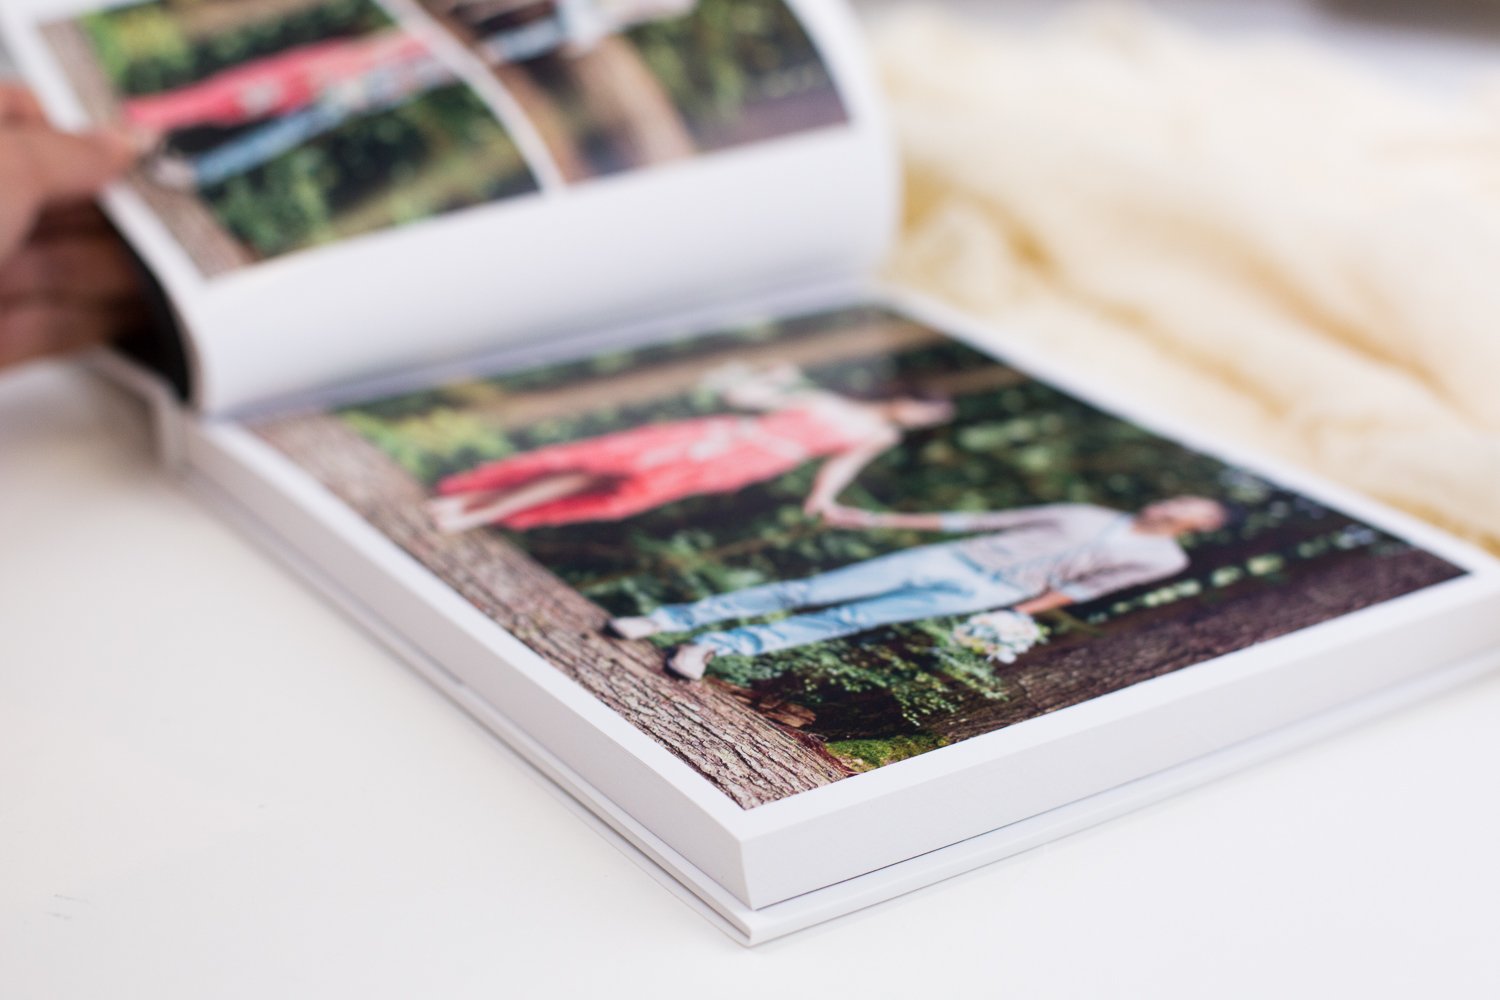
Base on the photos selected, you can have an idea on the size, cover type, number of pages, orientation to best fit your photobook. Go for a bigger size or more pages if you'll be putting in a lot of photos. Hardcover can be for yourself to keep, softcover as a great gift idea to all your bridesmaid. Landscape orientation if it fits most of the photos better.
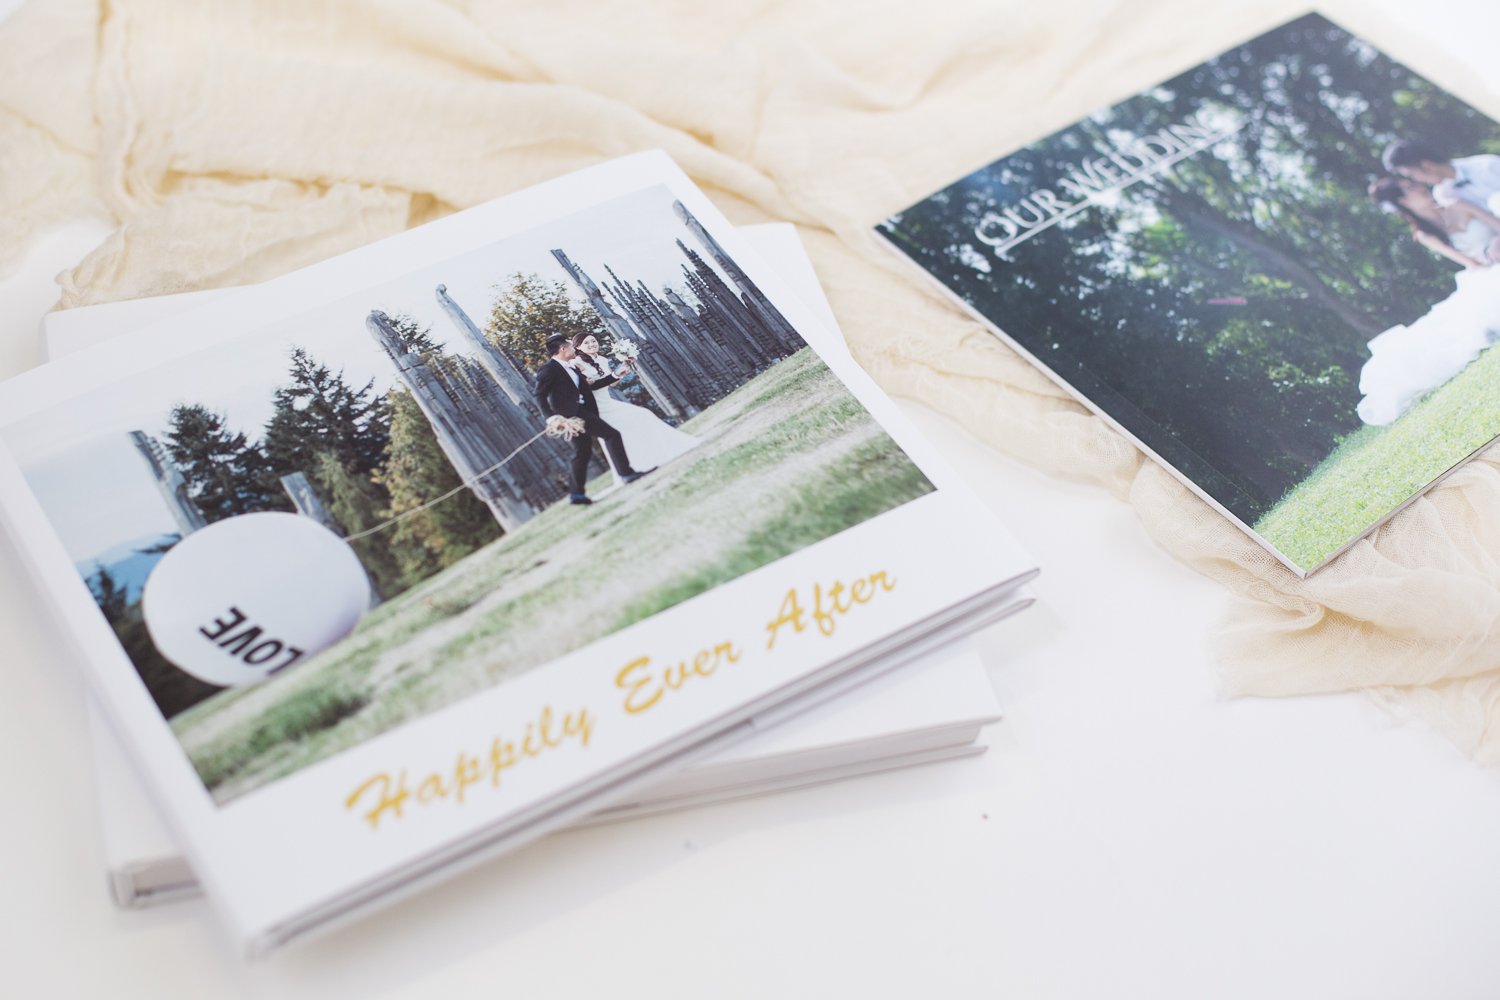
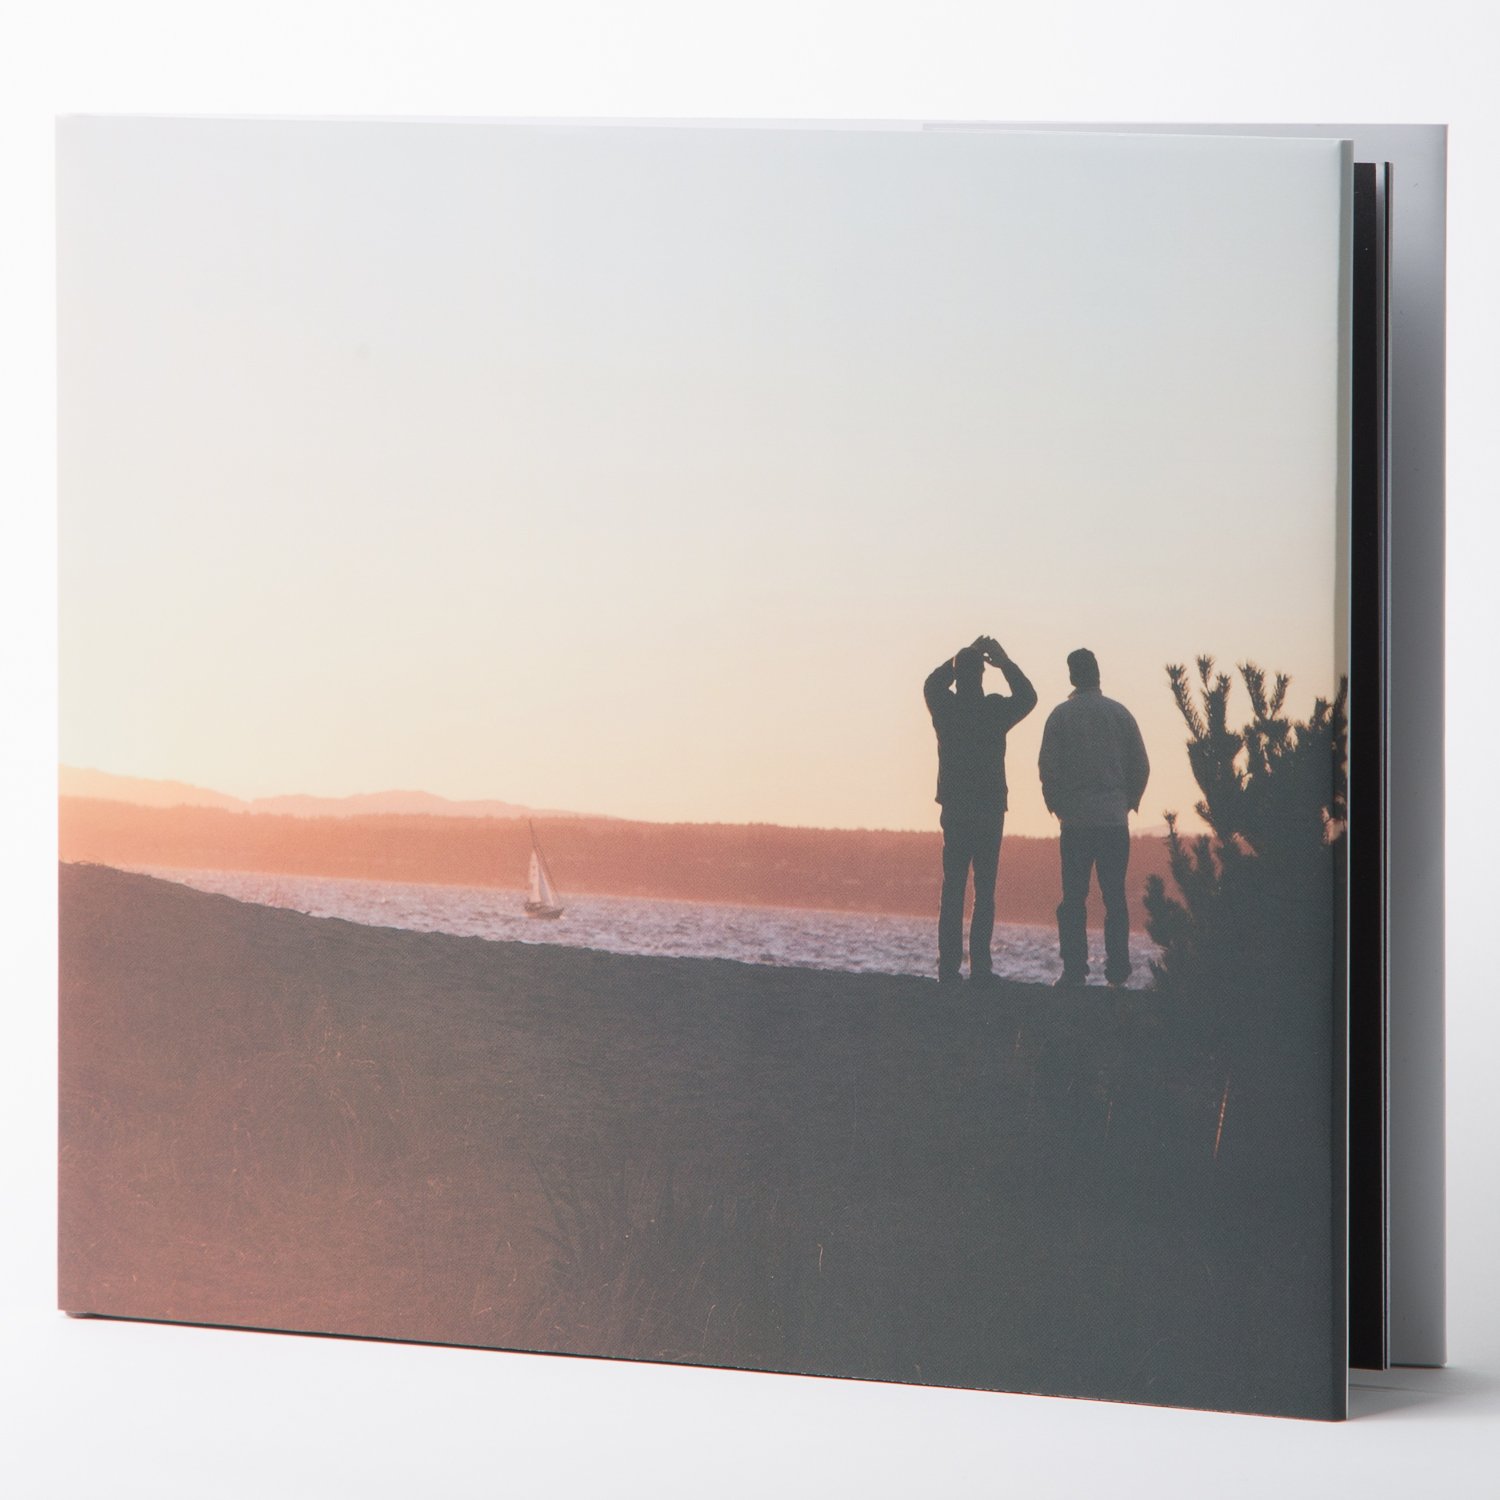
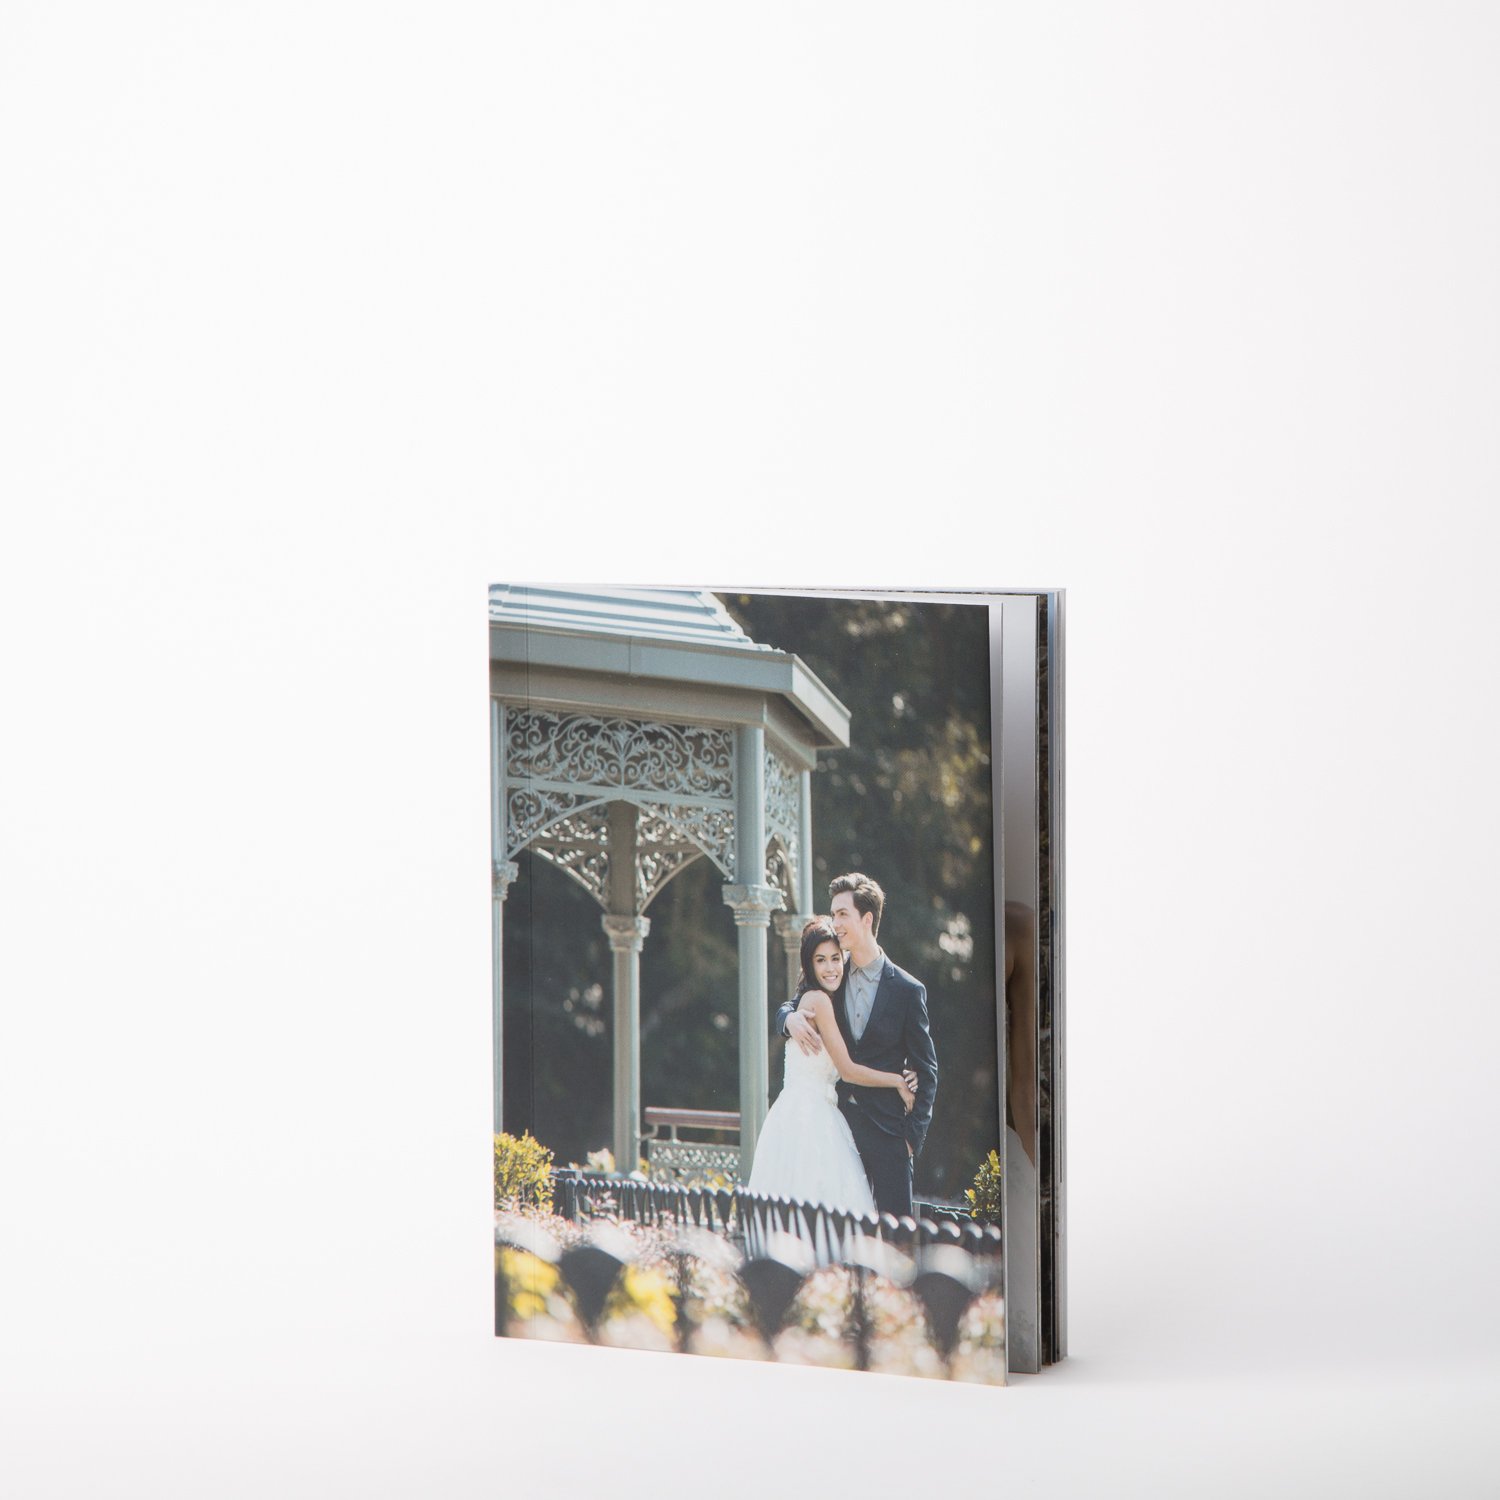
Step 3: Judging by it's cover
Choose a cover image that is your personal favourite or one that represent your wedding. Add the name and date on the cover or just a favourite love quote. This way there's no excuse to forget your anniversary.
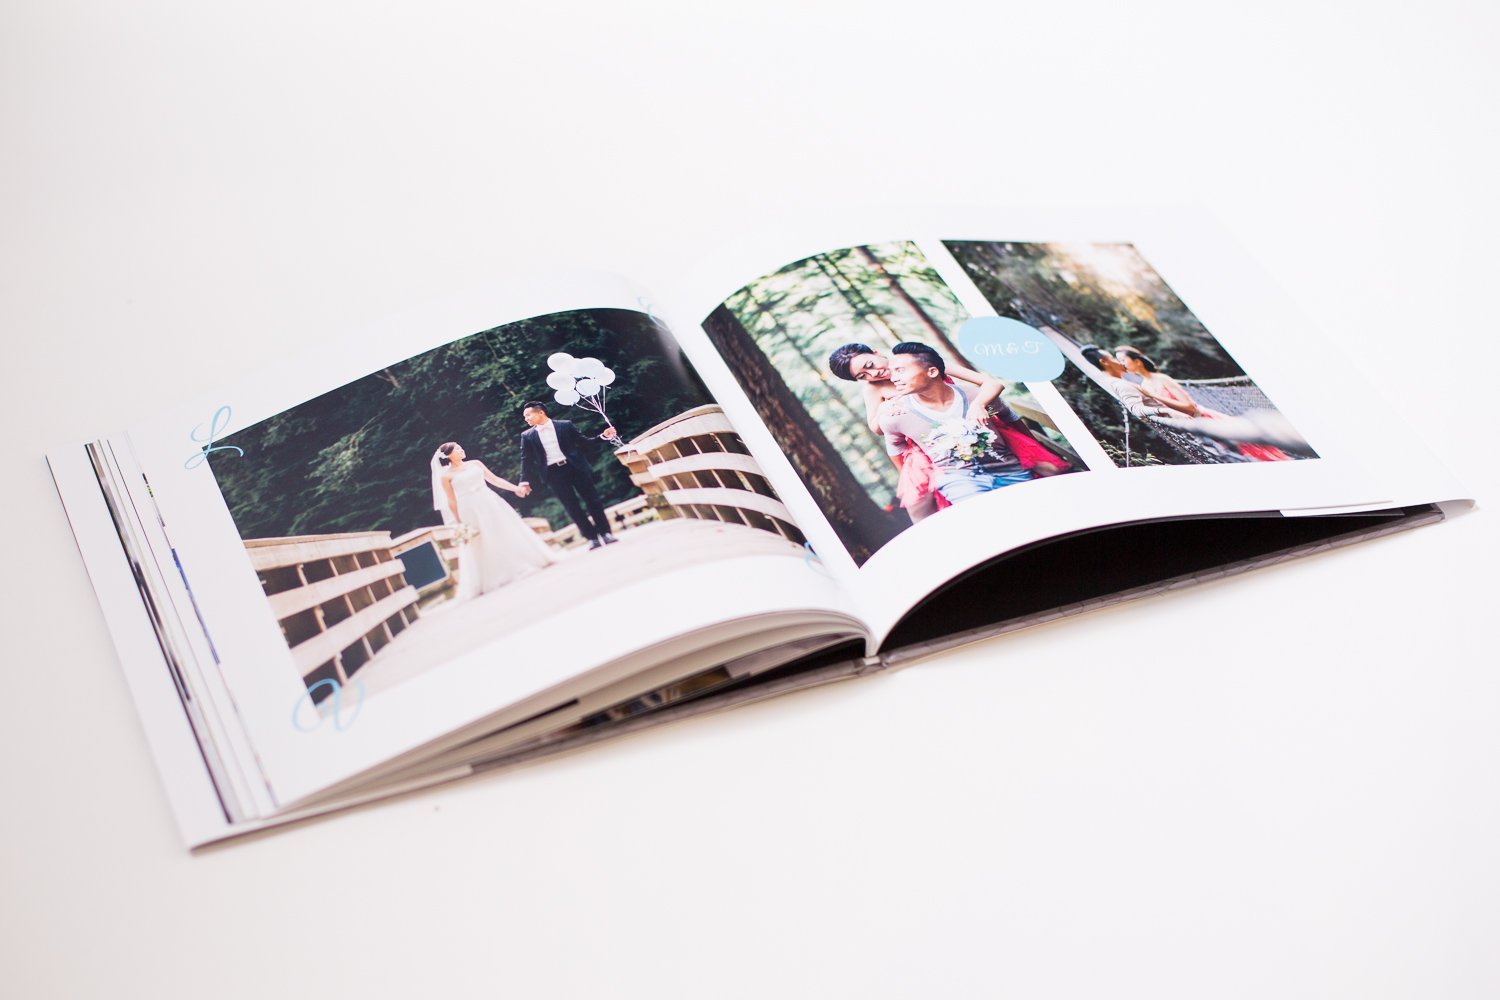
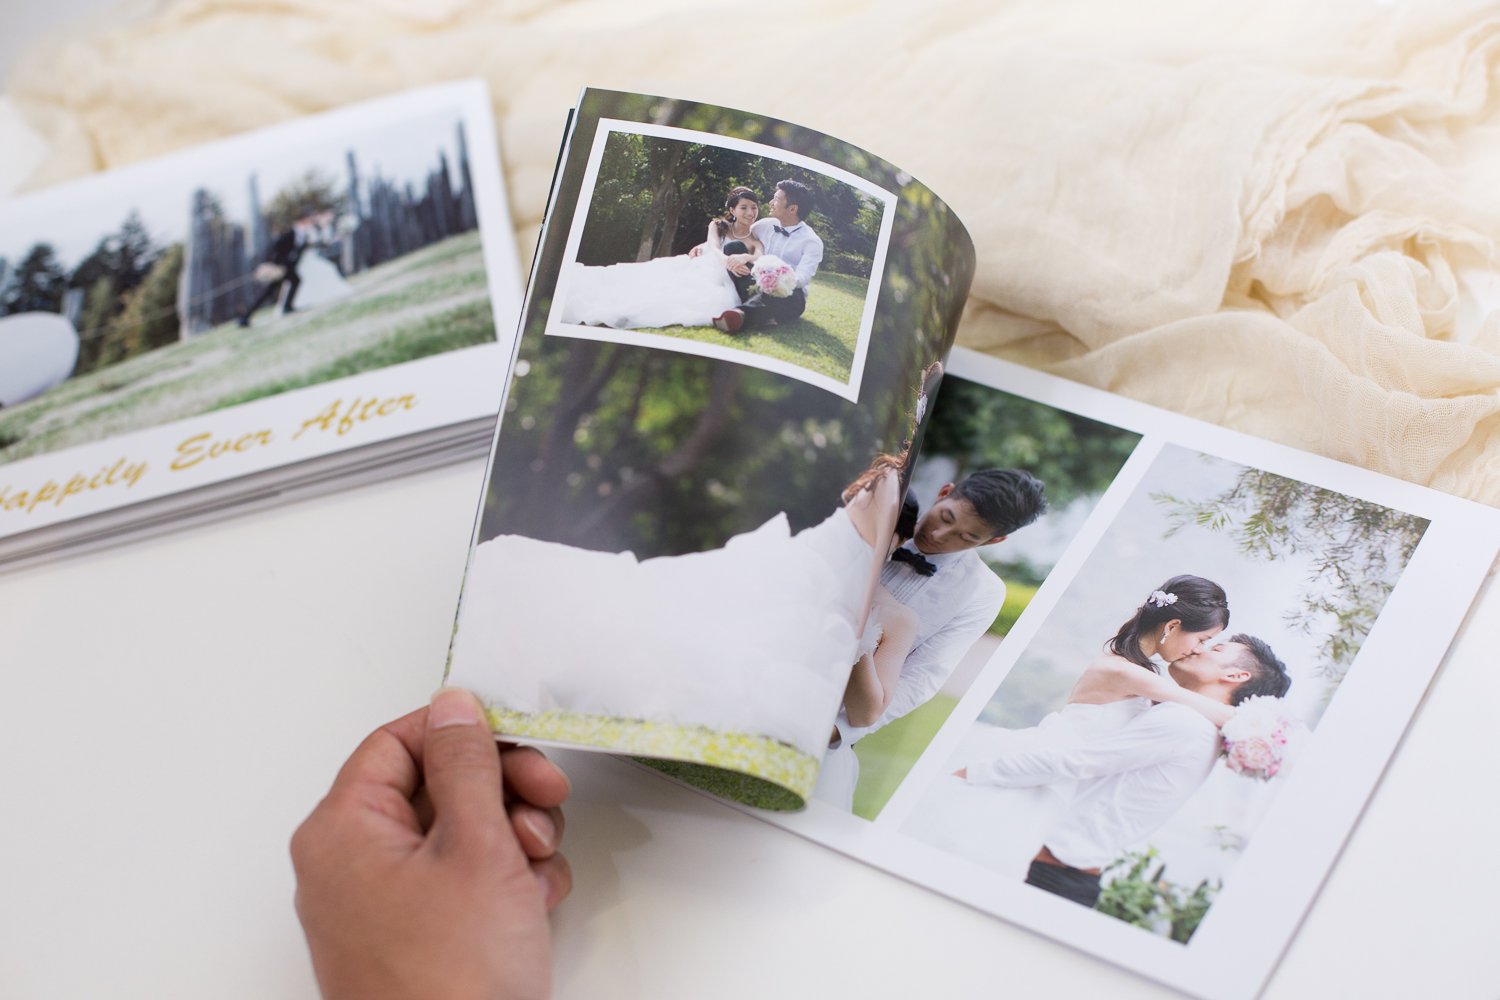
Step 4: Less is more
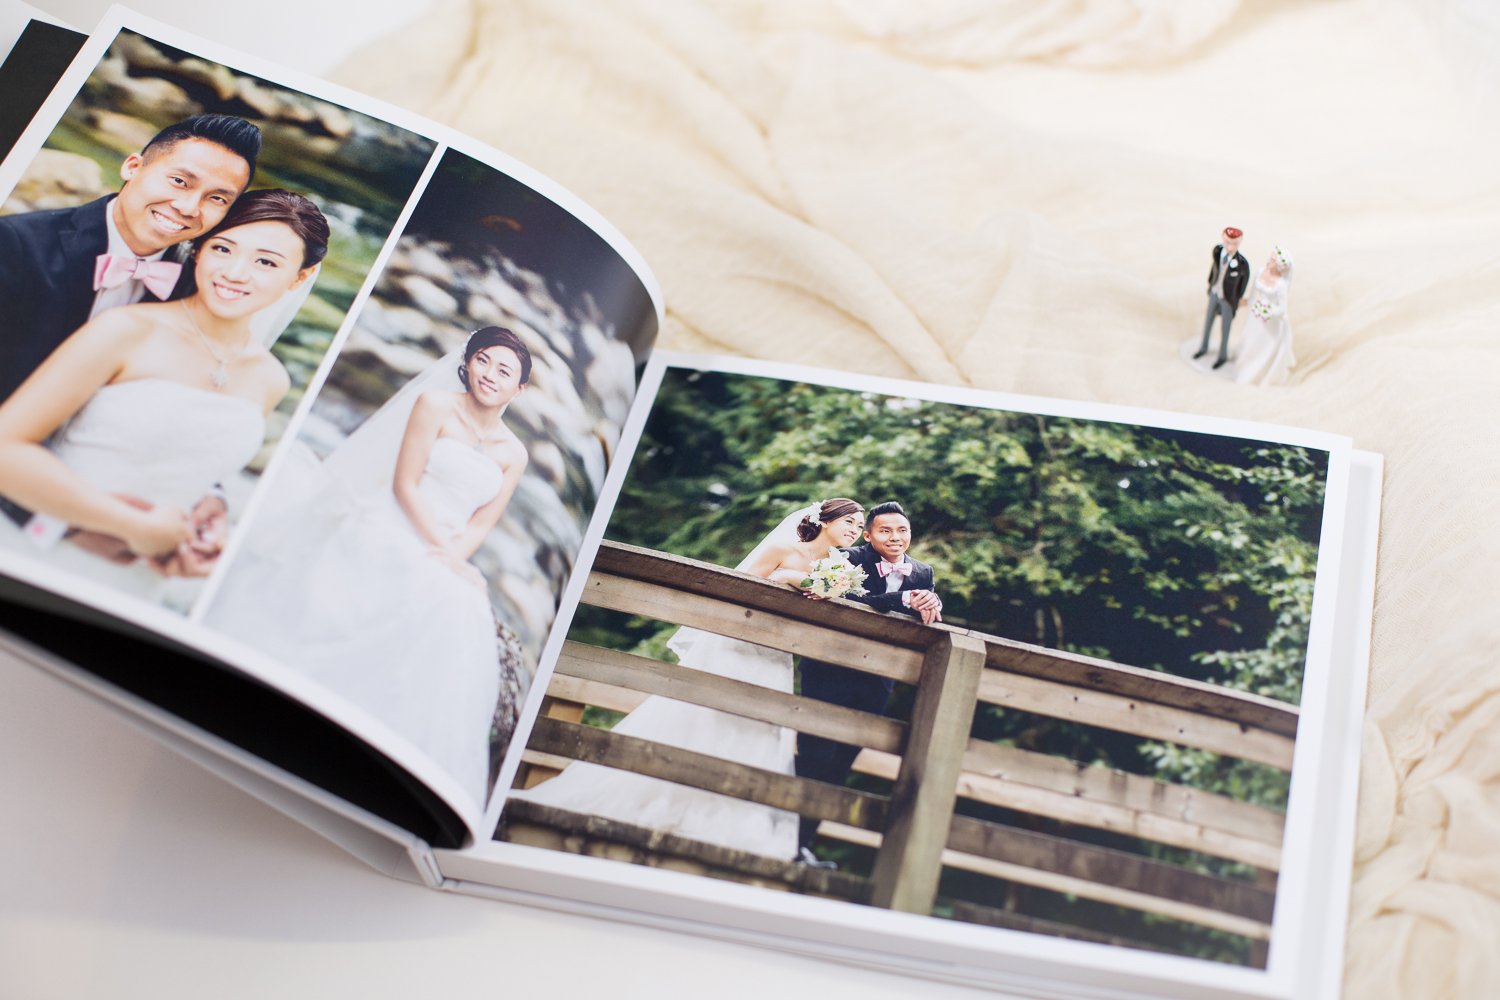
A photo a page or even a full spread page can bring all the attention to your photographs. Clutter with as many photos you can fit on a page will end up being too distracting and start to loose the focus. Every now and then it's good to add 2-3 photos a page. For the most part, simplicity is the key.
Step 5: Chronological order
This is the easiest and best way to go for wedding photobooks. It helps you in remembering the day better and in telling the story of your special day.
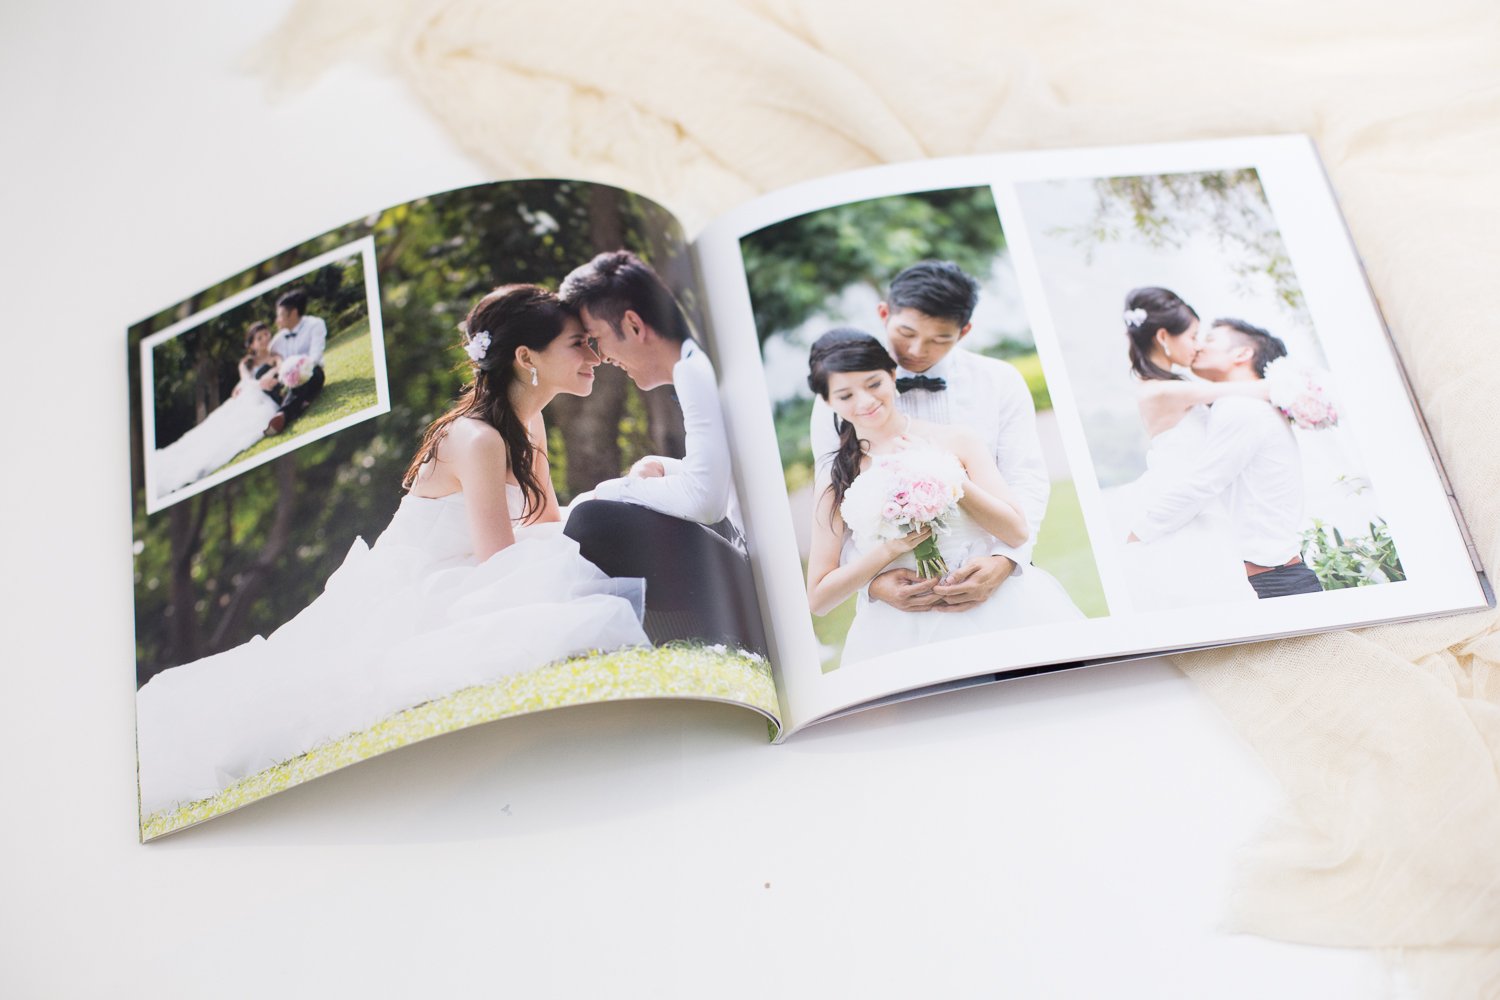
Step 6: Layout positioning
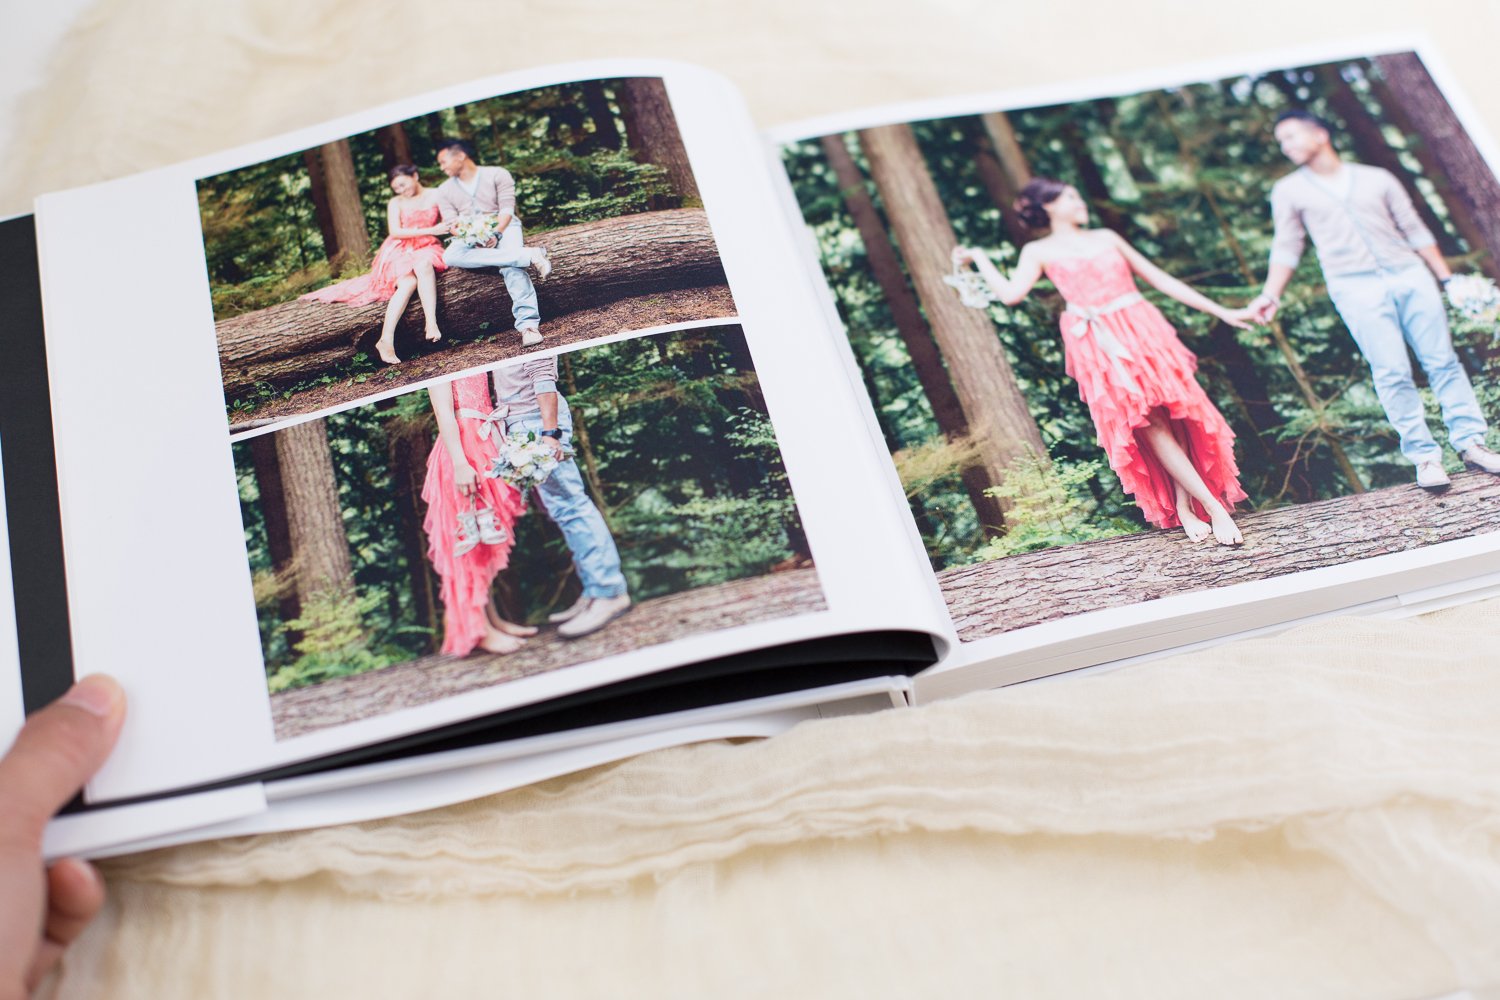
To design a clean page spread (two pages across the book) it's a good idea to keep all the photos along the same subject. Also try arrange in the order from top to bottom and left to right as it's easier for the eyes travels along this path. The use of white empty blank space is another great way to relax the eyes when viewing. Show some variety with the layout and your photobook will look professionally crafted.
Step 7: Take a break
You might not be able to finish it at one go. So don't over stress yourself and feel free to save your project to continue at a later time. After everything is done make sure to review it again and check for spellings if there's any. So there you go, these 7 simple steps should help in creating your wedding photobook easier. Play around with our photobook editor and have a feel of how everything works. Enjoy!
Posted on July 1st, 2017
Related product:
Big Landscape Wedding PhotoBook28x35cm
Landscape PhotoBook 20x25cm
Small Portrait PhotoBook 21x25cm